Resizing an Image
Ever wondered how to re-size an image so that it wouldn’t significantly slow down the amount of time it takes your website page to load? Or crop an image so that it would work better on your website? There are many great online services that give you the ability to do these things. Below are steps on how to re-size your image with www.pixlr.com.
Resizing an Image
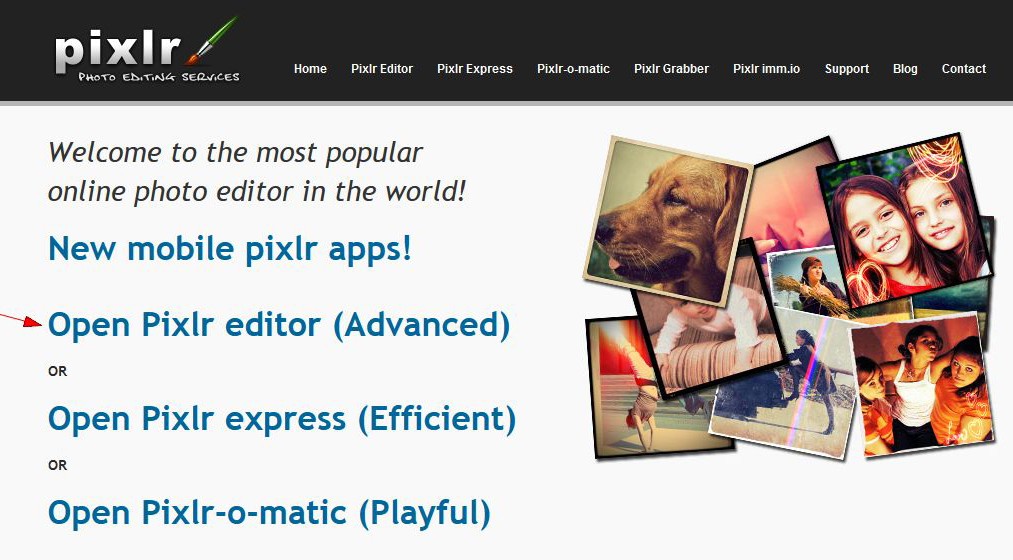
1. First, go to www.pixlr.com. You’ll see something like the image below. Click “Open Pixlr editor (Advanced.)”
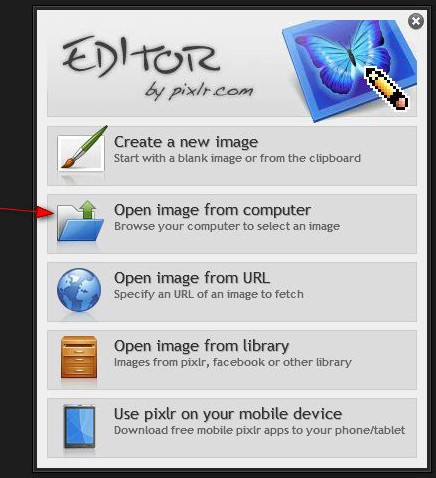
2. Next, click “Open Image from computer.”
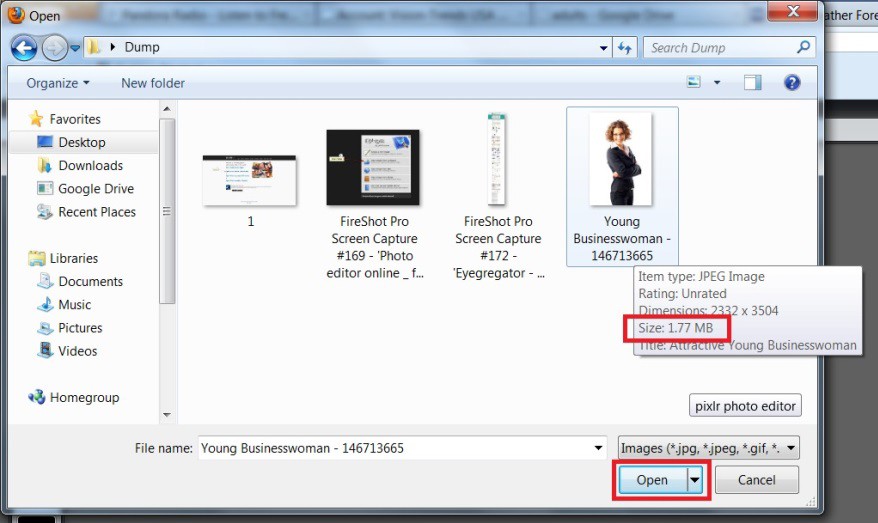
3. Navigate to where you have the image saved on your computer. Once you have selected the image, click “Open.” As you can see in the example below, the image is close to 2 MB. It’s best to load only pictures that are well less than a MB onto your site; in fact, most pictures should be 100 KB or less.
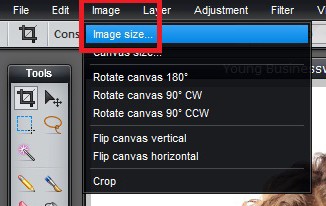
4. Click “Image” and then “Image size.”
5. Our sample image is over 2332 pixels wide. Most websites are only 960 pixels of usable width, and the usable width of the space where you want to add the image is likely much less. If you know the exact size you want the width to be, use that; otherwise you can usually save the image at 500 pixels wide or less.
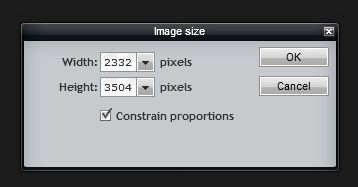
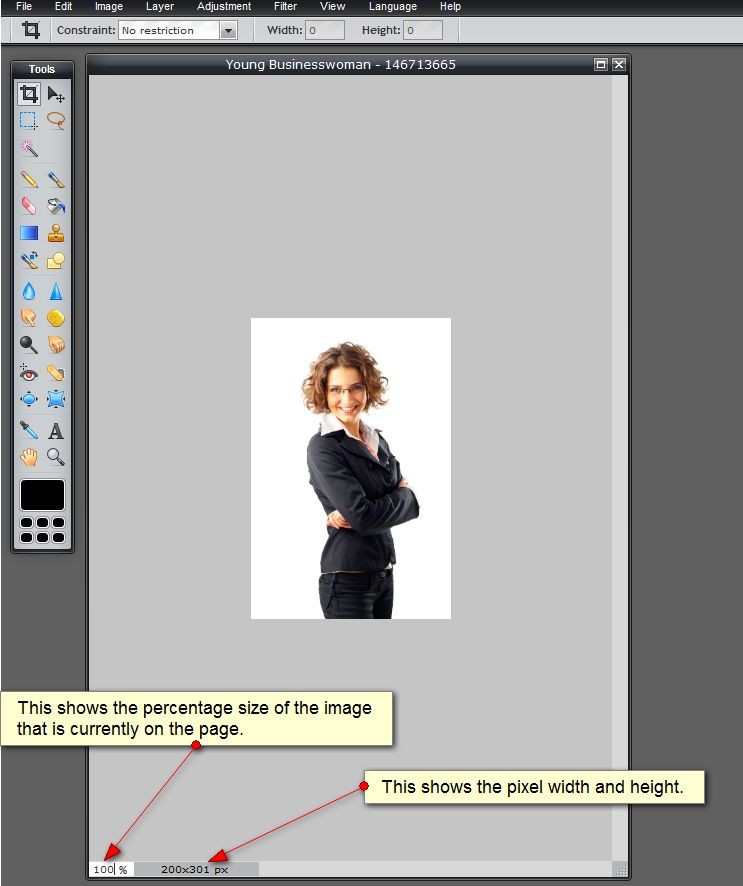
6. In our example, we’ve changed the width to 200 pixels, and the height adjusted automatically. To see how large your adjusted picture will appear on your website, make sure that the percentage in the lower left hand corner is 100%.
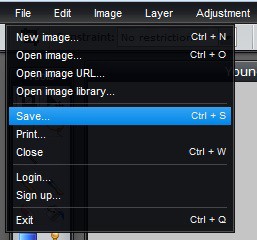
7. Next, click “File” and the “Save.”
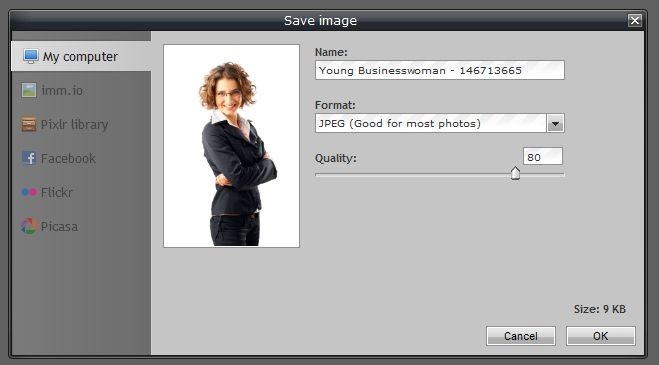
8. The following box will pop up. For Format, use JPEG; leave the Quality slider at 80. Click “OK.”
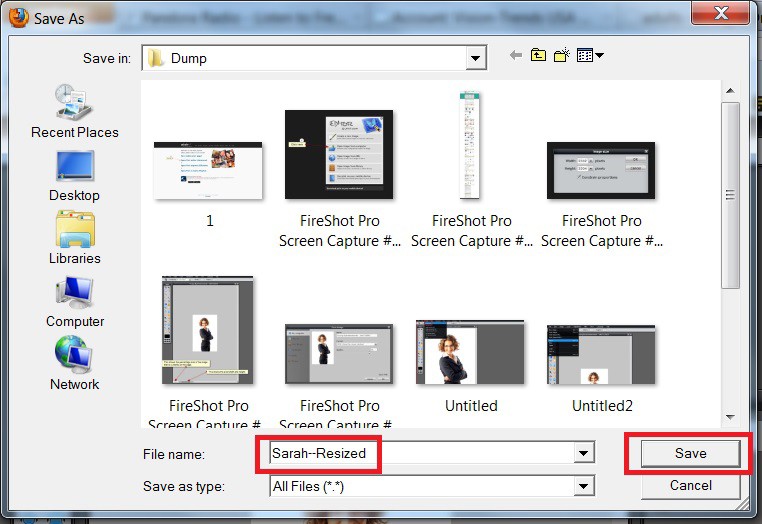
9. Next, select where you want to save the photo, and give it a file name that reflects that this photo is the resized version.
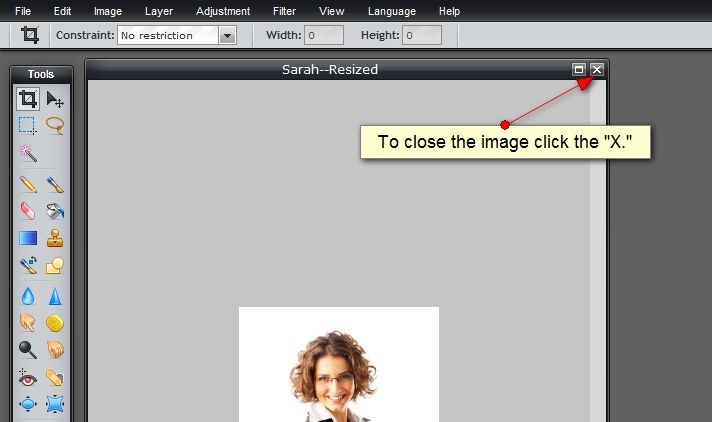
10. To close the original image, click the “X.” When it asks if you want to save the image before closing, click “No”. This will keep your original photo at its original resolution in case you need a higher resolution photo in the future.